Drilling your Hot wheels apart
On this page I will show you how to drill your Hot wheels apart for customizing. You can apply this technique to any casting that is factory riveted together
Tools Needed
Drill, corded or battery powered.
Drill bits, 5/64 and 5/32
Drill bits, 5/64 and 5/32
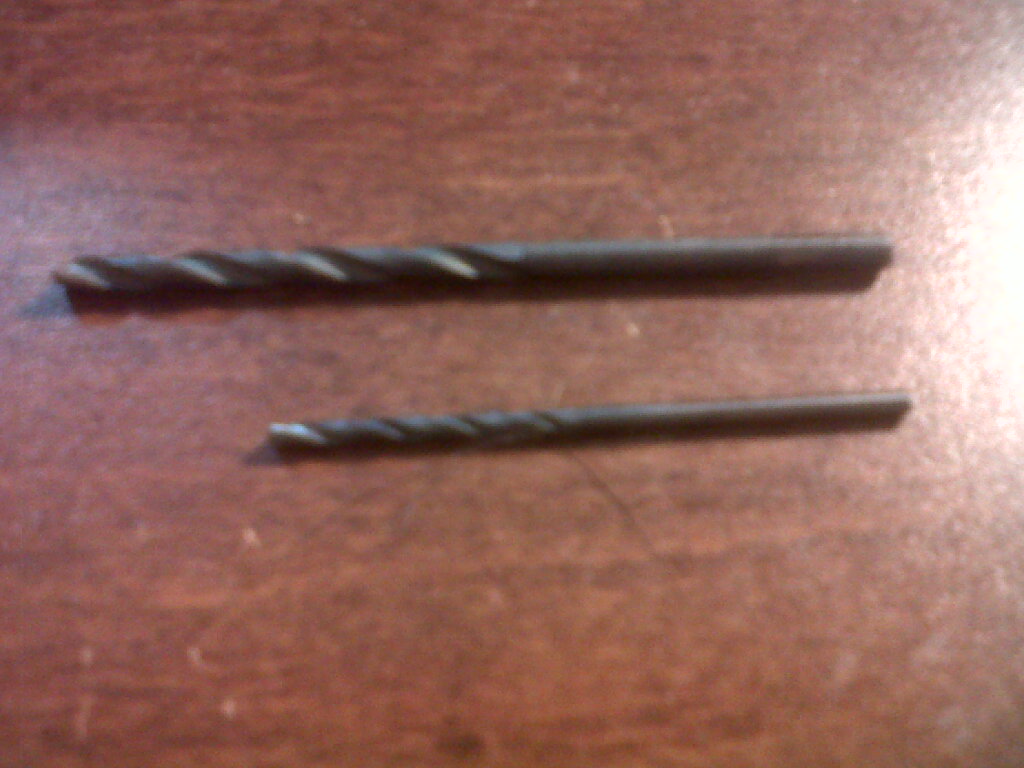 5/64 and 5/32 drill bits |
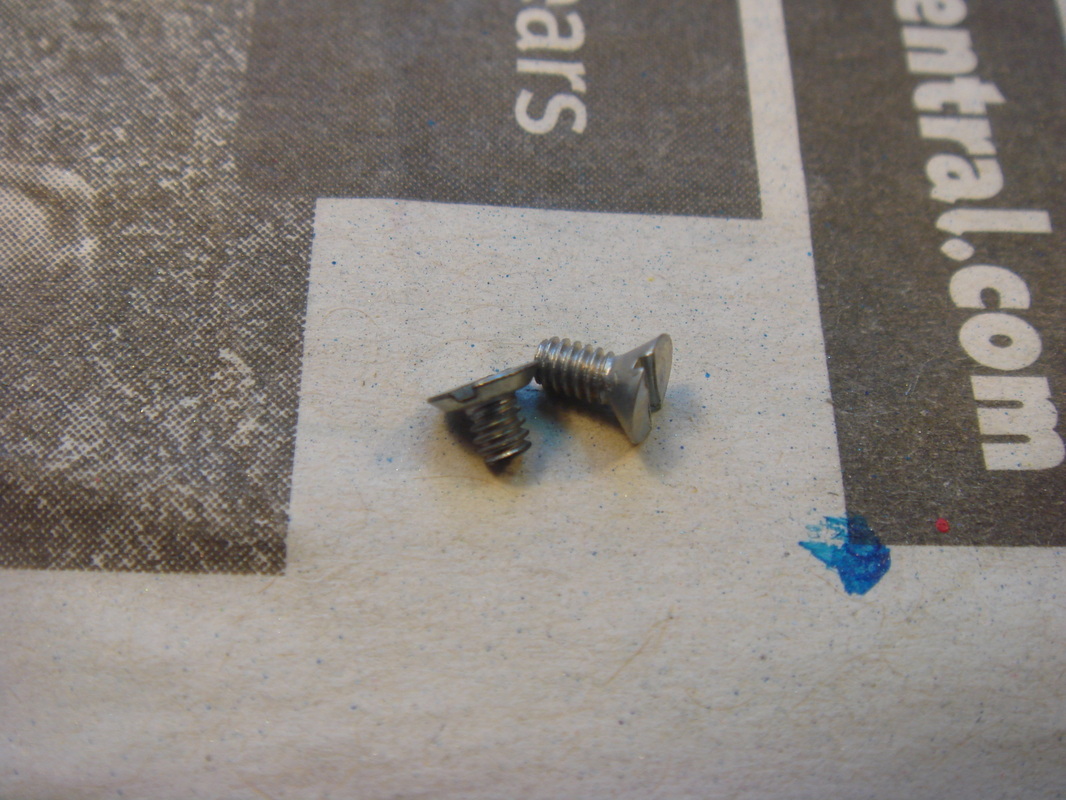 2-56 screws I use to put back together |
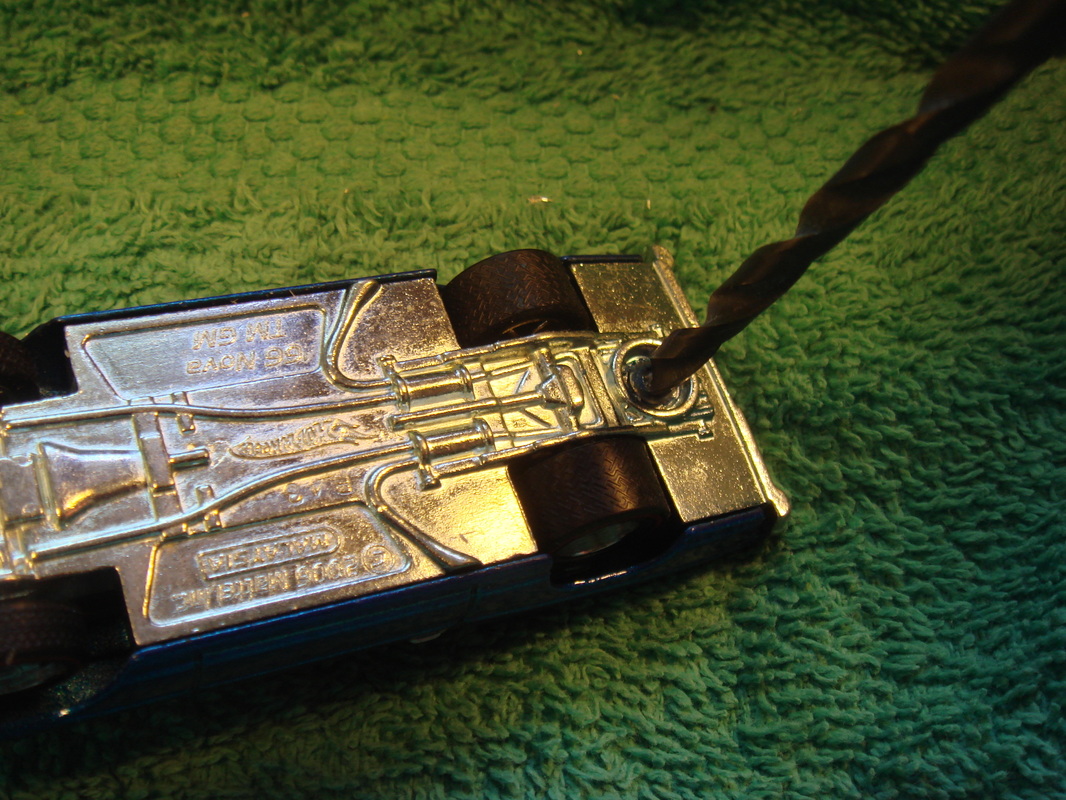
Step 1
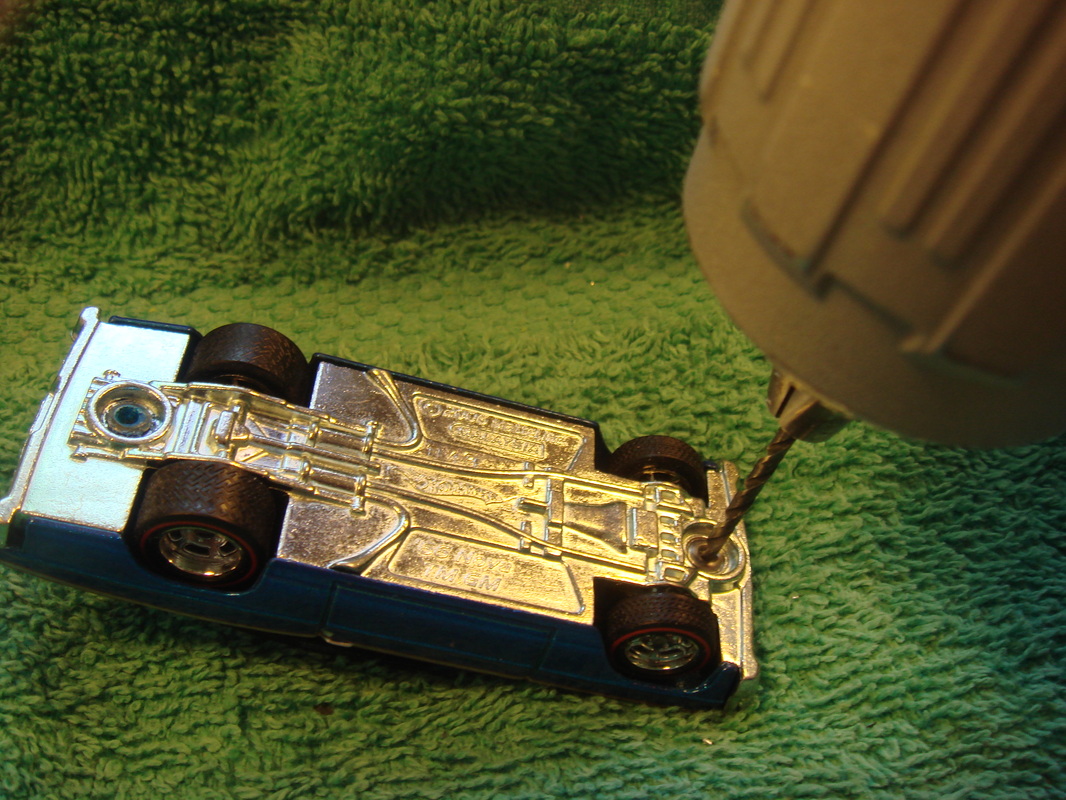
Drilling out center screw hole with 5/64 bit
With the 5/64 drill bit place the bit in the center of the factory rivet, drill straight down. Drill deep enough so that when you drill the crown off in the next step you still have enough of a hole for the replacement screw to grip and fit snugly. Note: Do not drill too deep through the casting.If after the next step you find that the hole for the screw is not deep enough you can go back and drill some more until you get the right depth.
With center hole drilled
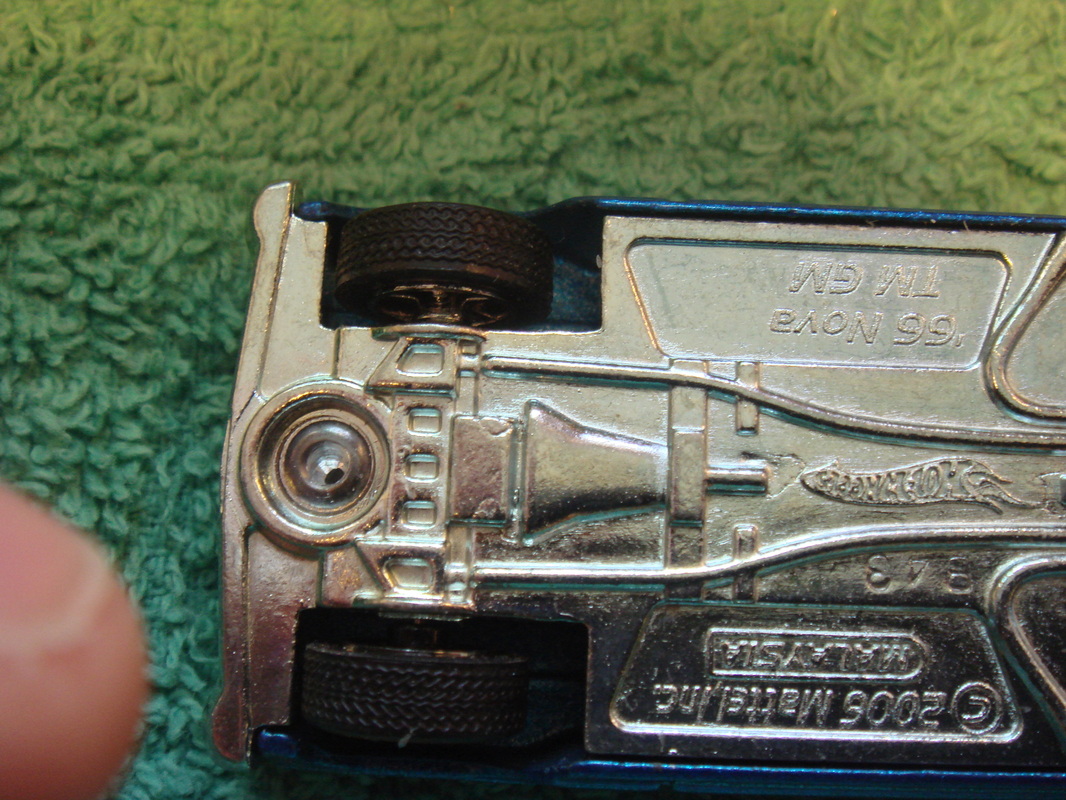
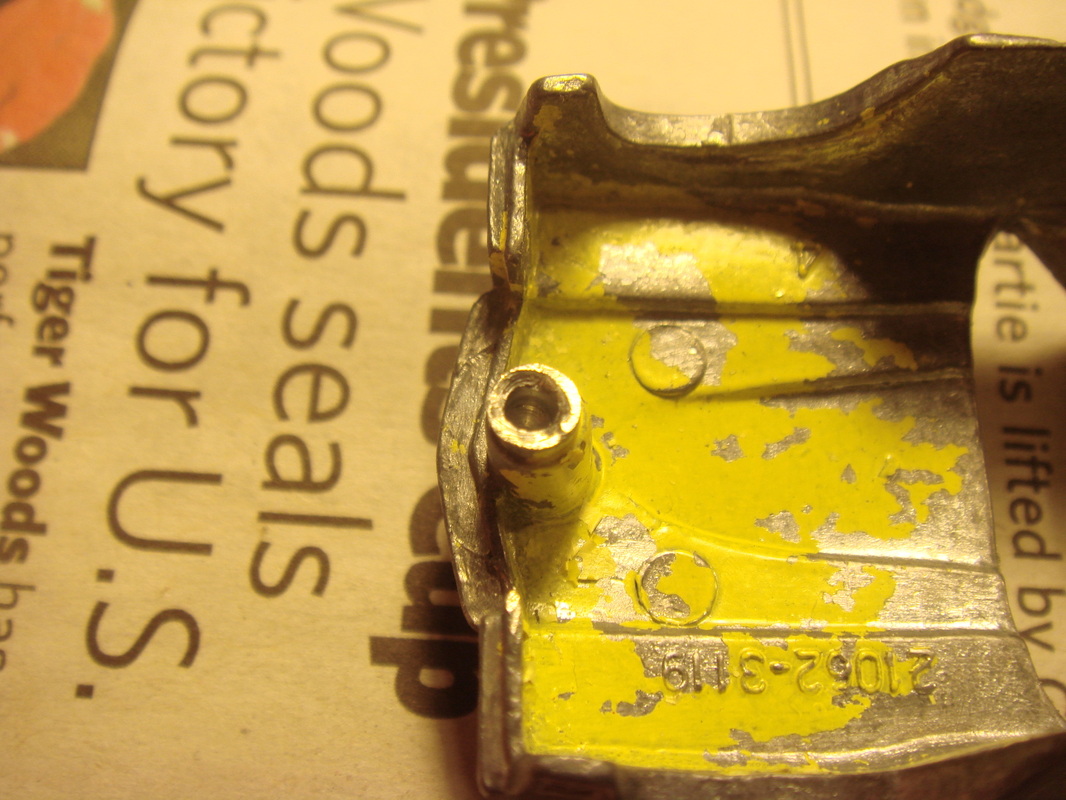
Step 2
Using the 5/32 bit to drill 'crown' of rivet off
In this step you will use the 5/32 drill bit to carefully drill the crown of the rivet off. Center the drill bit in your previously drilled hole and start drilling, a medium to slow speed works well here. Drill until the crown of the rivet is removed from the top being careful not to drill to deep into the base. Otherwise the screw will not have anything to grip to hold the base to the body. If you have a slight edge left you can always use a small screw driver to remove the lip. It is definatley trial and error so you may want to practice on a few donor or scrap cars before trying on your custom.

With rivet drilled apart
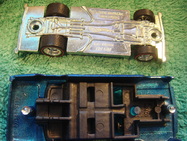 Gently remove body from chassis |
 Should look something like this |
Also now is a good time to check the fit of your parts. Make sure the base fits well On the body. Make sure the screw holes are deep enough and will hold the body securely to the chassis once you put it back together. The last thing you want to be doing is trying to fit the and drill the screw holes after it's painted and you are putting it back together . I will cover re-assembly in another section.
