How to prepare a die-cast car for painting
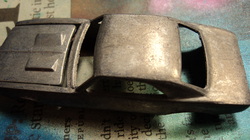
Strpped un-prepped body
Body prepping is a very basic and important step in a quality custom. A little effort in the area really goes a long way in your finished custom. It is well worth the effort.Always do your best, the finished product will show your results.
This how-to is based on after you have stripped the paint from your project..
This how-to is based on after you have stripped the paint from your project..
Tools Needed
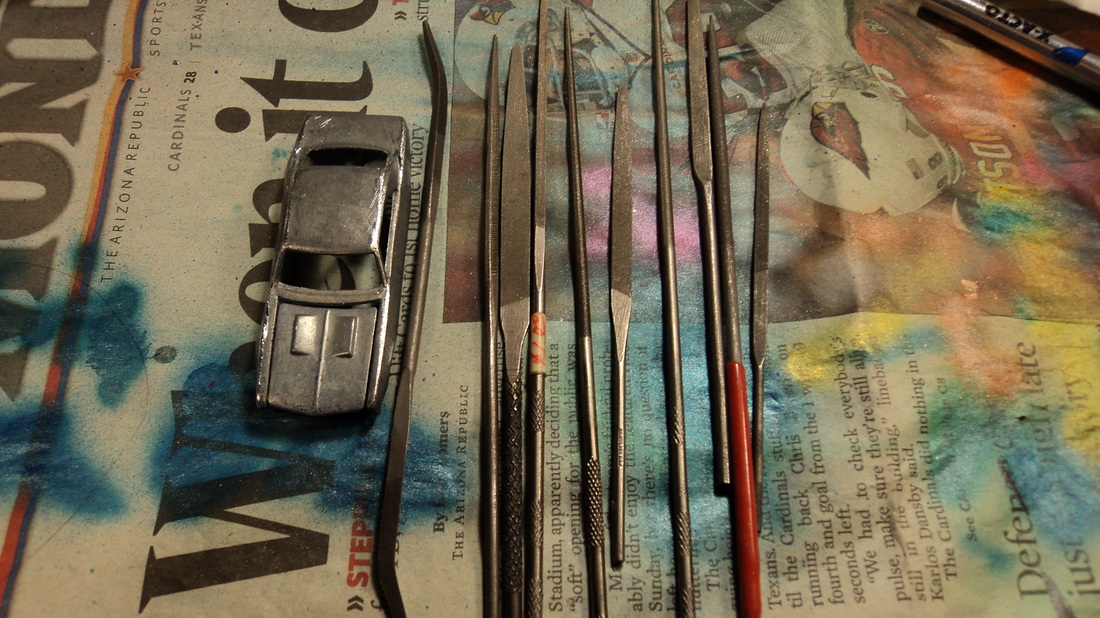
A variety of files, Use the 1/64th scale car for scale.
A variety of small files, A variety of shapes help, flat, rat tail, half-round etc.
Medium grade steel wool #1.
various grades of sand paper. 150-250 grit sandpaper works best. If it's to coarse it will scar the metal making more work for you, too fine and it won't help you. Experiment for what works for you.
Dish soap and water, regular dawn de-greasing dishwasher soap works great.
We are only going to cover the basics of prepping here. Will not go into fillers and body mods here.
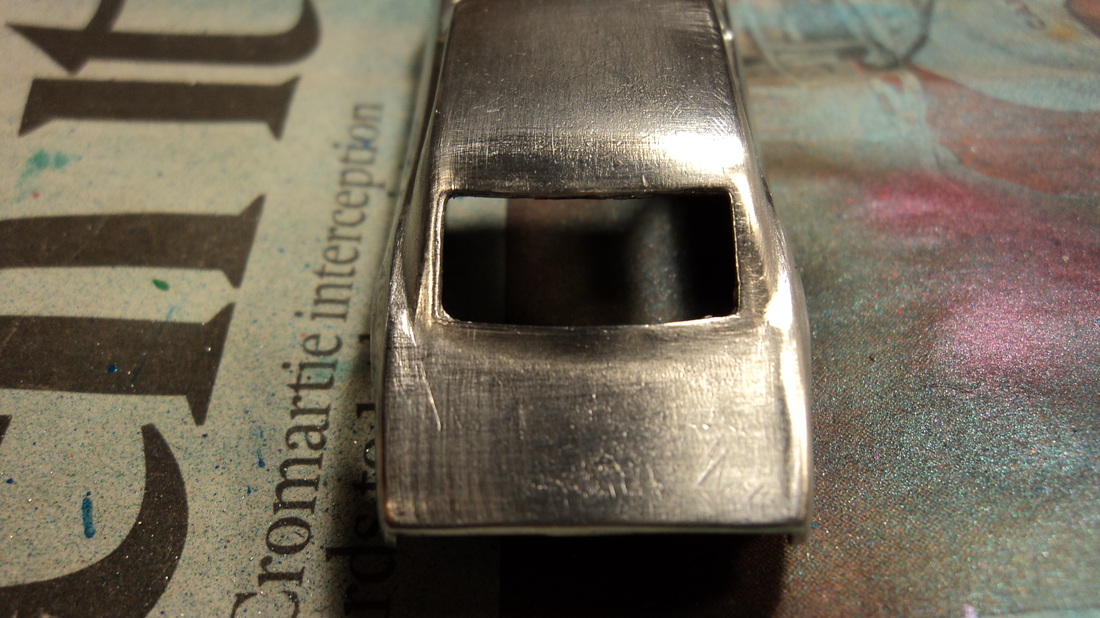
Casting lines
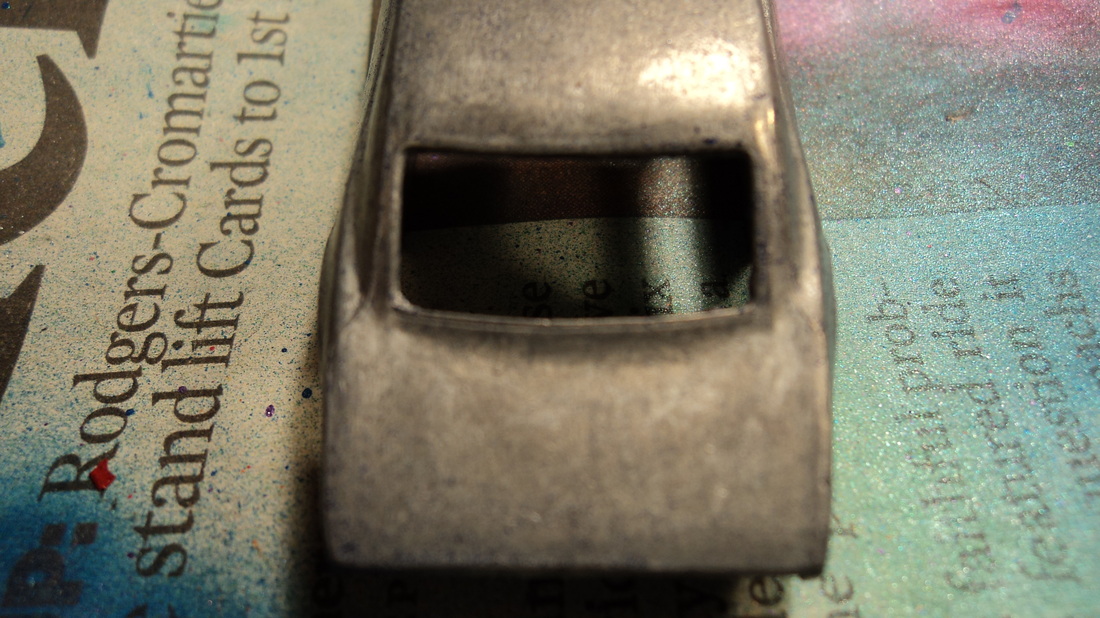
Notice the casting lines on the sides pillars of the roof.
The main thing we are going to work on here is smoothing out the casting lines on your die-cast. Some may not be too bad and other cars have noticeable and hard to remove lines. Some even leave grooves when you remove them.
Remember the casting lines run the through-out the whole casting, usually along the roof and the top sides of the body, along the front and on the sides of the rear and along the rear body panel. Removing them is a step in professional customizing and add to the overall quality of your custom.
Remember the casting lines run the through-out the whole casting, usually along the roof and the top sides of the body, along the front and on the sides of the rear and along the rear body panel. Removing them is a step in professional customizing and add to the overall quality of your custom.
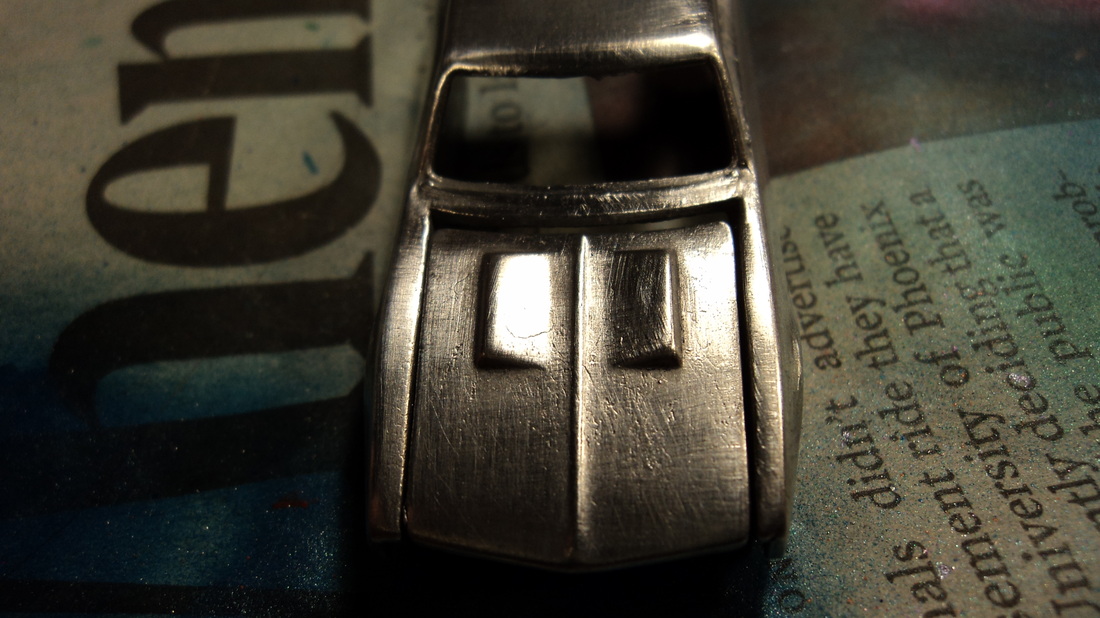
Step 1
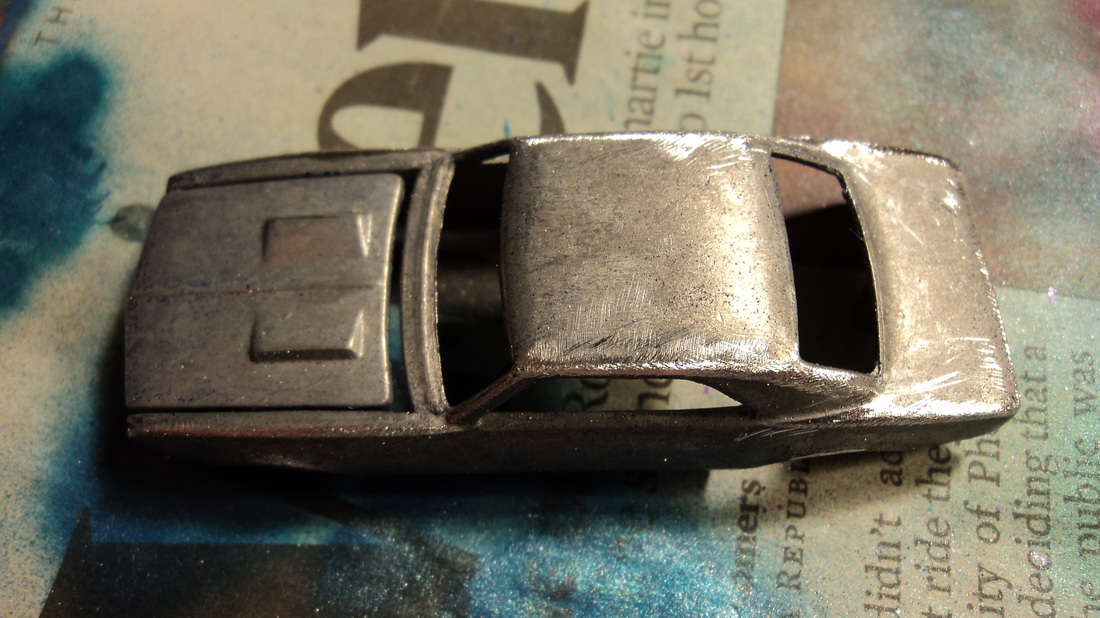
The casting lines have been filed down..on the edges.
Locate your casting lines and take your files, usually starting with a flat file and start filing the lines down, going in both directions sideways across the body. Sometimes if you only file in on direction you only eliminate half the line. Use the round and other shaped files for contoured area's of the body such as just below the pillars on the sides and around headlights. the picture at the left shows where the body has been filed and the casting lines have been removed. Remember to file easy. If you file to hard you can leave deep scratches and gouges that can be a real pain to remove..It's easier to go back and file spots again if you need to.
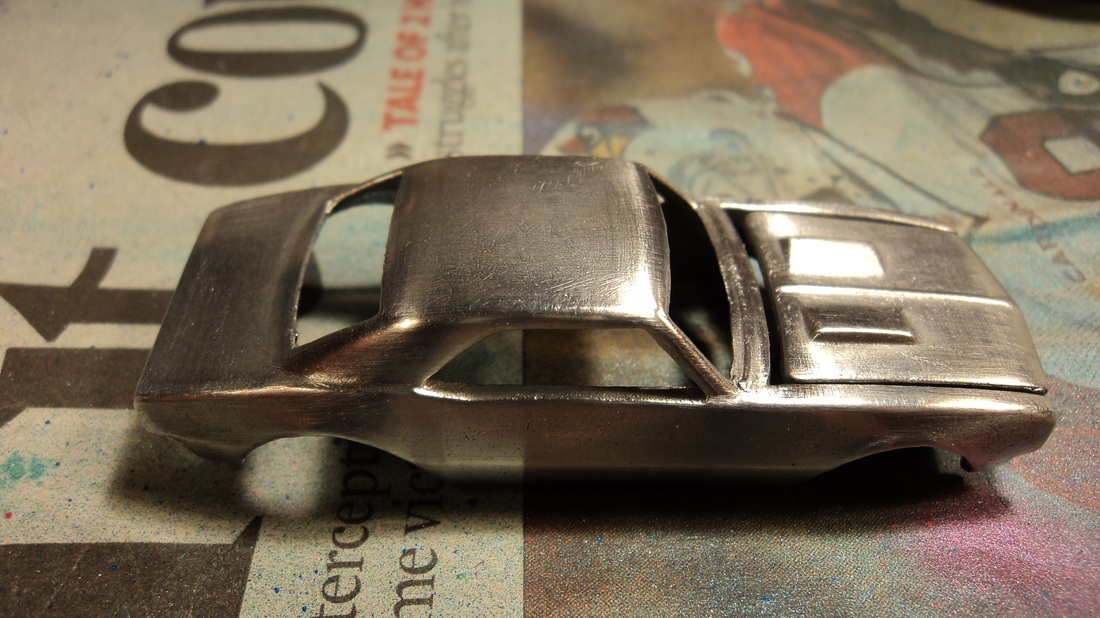
Step 2

Finished and prepared for primer
The next step requires a little elbow grease. A little patience and determination. The steel wool will help take out the rough edges and round your body lines. Next we take our steel wool and pull a little chunk off or you can use the whole wad if you prefer. I have found that it is better to do it over your garbage can, as you vigorously polish your die-cast the steel wool sheds and shrinks and leaves little metal pieces everywhere. With your steel wool in hand start rubbing all the edges where you filed ( hopefully you filed easy) And once you are satisfied with your lines and edges.(If not you can repeat step 1 until you are) You can start polishing the rest of the body, Make especially sure to get into all the contours and depressions in the body. You are not just smoothing the imperfections left from the casting process, but you are also cleaning any surface residue and oxidation on the car. Once you are finished your car should look nice and shiney .. Almost good enough to leave like it is... Some small surface nicks will remain but not to worry too much, a good primer will cover and fill most of it. If you have body lines that left an indent or especially deep scratches you can use a body filler or jb weld to fill those and sand and rub smooth with steel wool. (Body filling will be covered in a different how to)
 Casting lines are virtually gone, body polished smooth |
 Do not neglect any part of the car, any spot overlooked could cause paint problems later on. |
Step 3
Cleaned and ready to Primer.
The next step is the easiest but probably the most important to your finished paint job. Cleaning your car with a good soap and water is essential. You must remove all the grease, residue, stripping residue, dust or anything else that will adversley effect your paint job. I run the car under warm water and apply a small amount of Dawn dish soap to the body and with an old toothbrush start scrubbing and rinsing until it is squeeky clean, Leaving dish soap on it will affect the paint as well. Once you are done ..Use a paper towel and hand dry your car, Letting it air dry can leave water spots.
Step 4
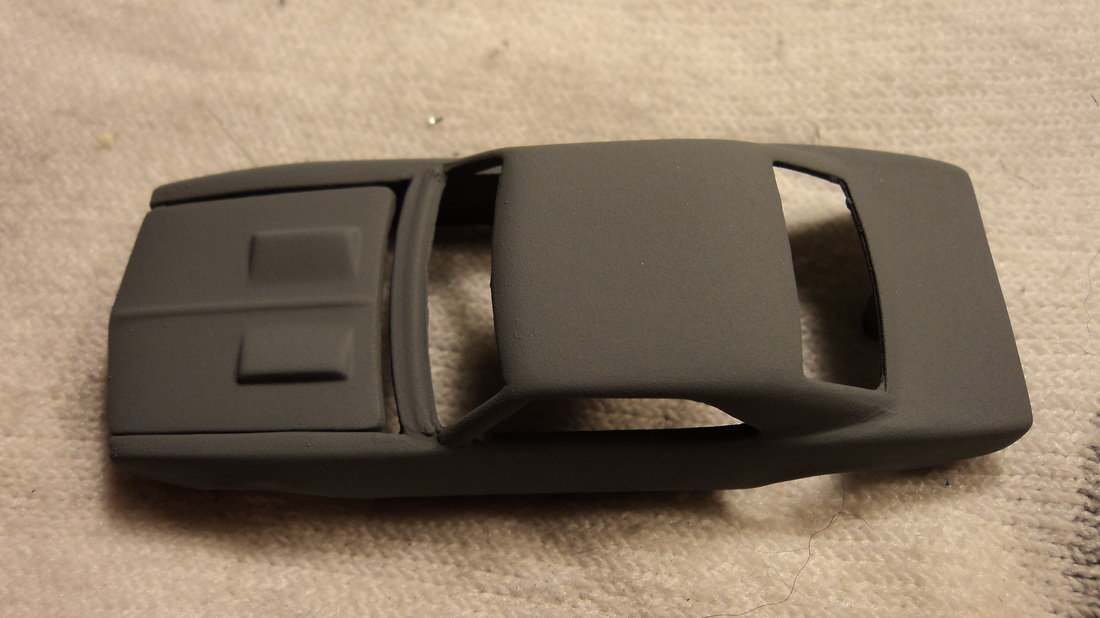
Primered and ready for paint
The next step is the beginning of the fun of applying paint. I am not going to get into too much detail for obvious reasons. Make sure you read and follow the directions on your can of paint. Use the best quality primer that you can afford. I find that a $3 can of primer covers better than the $1 can. But use what you can afford. Apply primer in a well ventilated area. I always do the bottom and inside of the car first. It is important to paint the inside and underneath of your car as well. You never know what will show after final assembly. Next I mount the car on a stand .. Helping hands with alligator clips work wonders.. And spray the car. Starting with a light coat and making sure you cover the whole body of the car. I usually apply 2 or 3 coats, The primer dries fairly quick so you can apply the next coat within a few minutes of each other.Notice in the picture how smooth and clean the body looks.. All that filing and polishing paid off.. Now you are ready to add some color..Which of course will be covered in another how-to...
